How to Reseal Windows: Stop Drafts and Keep Your Home Comfortable
Learning how to reseal windows starts with spotting the signs: if you can feel a cold draught near a window, or you have noticed condensation, rattling, or a rise in your heating bills, the seal around the window may have failed. Window seals do not last forever. Sunlight, temperature changes, and years of opening and closing can cause caulk to crack, shrink, or peel away from the frame.
Resealing a window is a straightforward home maintenance job that most homeowners can do themselves with a few basic tools. This guide explains how to reseal windows step by step: how to find the problem, remove the old sealant, and apply a new seal that keeps out draughts and moisture.
How to Tell If a Window Needs Resealing
The first step is to confirm that the seal is the problem, rather than a worn weatherstrip, a loose latch, or a damaged frame. On a cold or windy day, hold your hand close to the edges of the window frame and feel for a draught. A thin piece of tissue held near the frame can also show air movement.
Look closely at the caulk around the window, inside and outside. Cracks, gaps, peeling, and missing sections are all signs that it needs replacing. Check the corners in particular, where sealant often fails first. Also look for signs of moisture, such as peeling paint, soft or discoloured wood, or mould around the frame, which can mean water is getting in.
Tools and Materials You Will Need
You do not need specialist equipment to learn how to reseal windows. Gather your tools before you start so you do not have to stop halfway through. You will need a utility knife or a caulk removal tool, a scraper or putty knife, a clean cloth, and a bucket of warm soapy water.
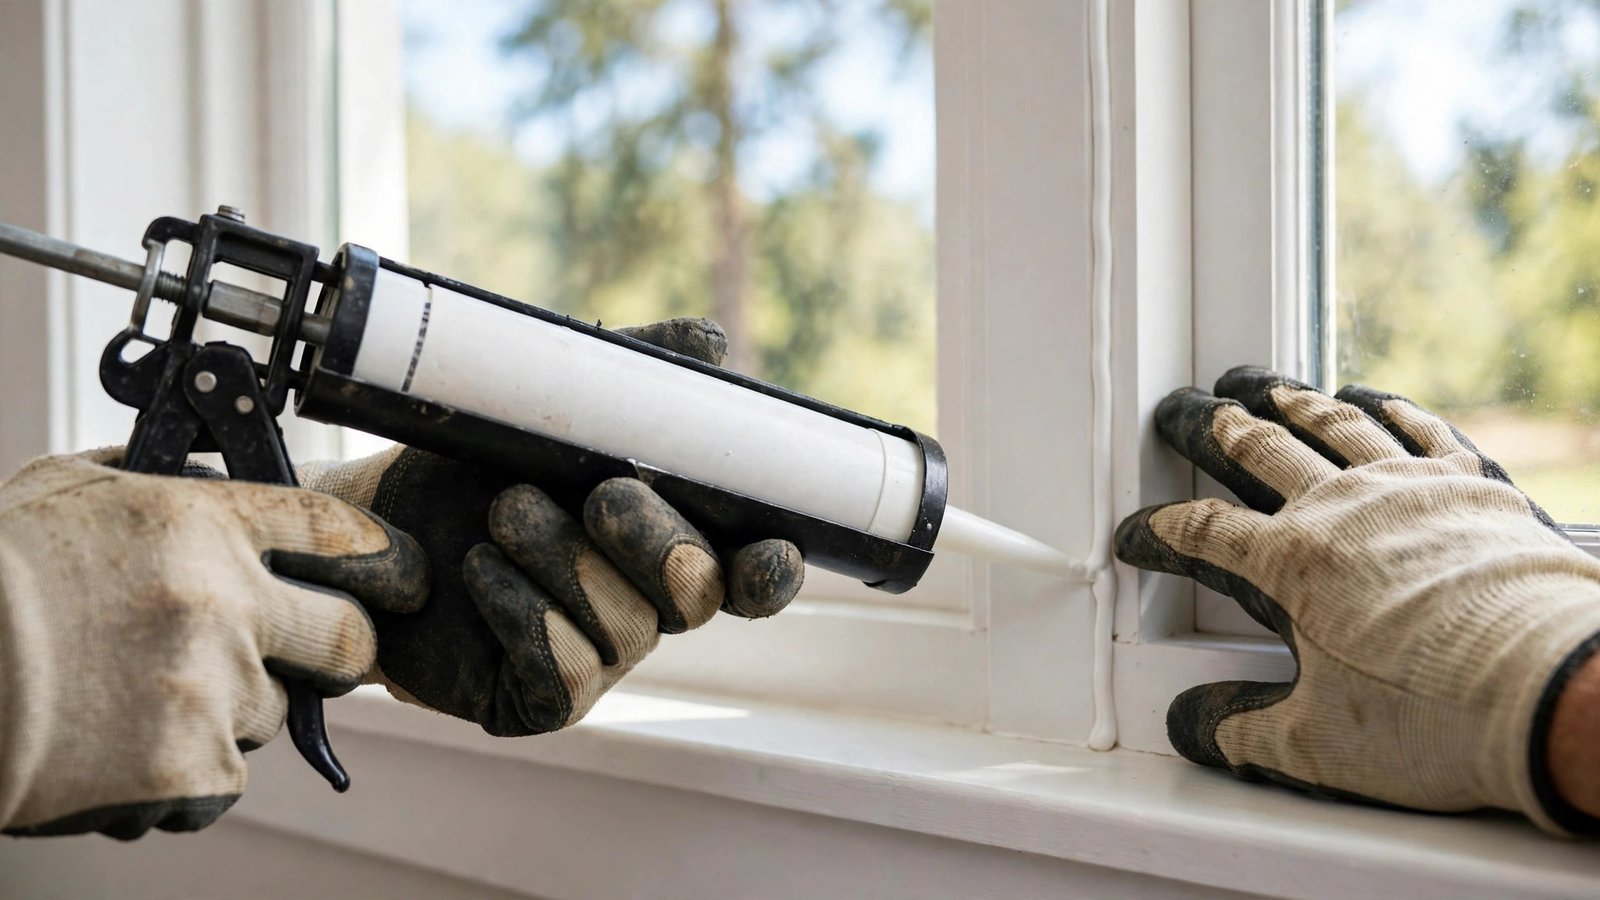
For the new seal, you will need a tube of caulk and a caulking gun, unless you buy a squeeze tube. Choose a caulk suitable for exterior use if you are sealing outside, and check that it can be painted over if you plan to paint it. Silicone caulk is flexible and weather-resistant, while paintable acrylic caulk is easier to work with.
You may also want masking tape for a neat edge, gloves, and a damp cloth to finish the bead. If you are working on an upper floor, make sure you can reach the window safely, and never lean out of a window to reach the outside seal.
Prepare the Window and Remove Old Caulk
Good preparation is what makes a new seal last. Start by cleaning the area around the window. Remove any loose dirt, dust, and flaking paint with a brush or cloth so the new caulk can stick properly.
Cut the old caulk away with a utility knife or a caulk removal tool, taking care not to damage the frame or the glass. Use a scraper or putty knife to remove any remaining pieces, and work the blade along the joint rather than digging into the surface. For stubborn residue, a little warm soapy water and a cloth can help, but avoid harsh solvents unless the product label says they are safe for your window material.
Once the old caulk is out, clean the joint thoroughly and let it dry completely before you apply the new seal. Caulk will not stick well to a wet or dusty surface. If the wood underneath is soft or rotten, do not simply cover it with caulk; that damage needs repair first.
How to Reseal Windows Step by Step
Start by cutting the tip of the caulk tube at a slight angle. The size of the opening controls how thick the bead will be, so cut it small at first; you can always cut it larger if you need to. Fit the tube into the caulking gun and squeeze a little caulk onto a piece of cardboard to get a feel for the flow.
Apply masking tape along both sides of the joint if you want a clean edge, leaving a narrow gap where the caulk will go. Hold the gun at an angle and apply a steady, even bead along the joint, moving at a consistent speed.
Once the bead is in place, smooth it with a damp finger, a damp cloth, or a caulk smoothing tool, pressing it gently into the joint. This helps the caulk stick and gives a neat finish. Remove the masking tape while the caulk is still wet, pulling it away at an angle, and wipe away any excess with a damp cloth.
Common Mistakes and When to Call a Professional
When you learn how to reseal windows, one of the most common mistakes is applying new caulk over old, cracked caulk. The new layer will not bond properly and will lift away quickly. Always remove the old material first, even if it takes more time.
Applying caulk to a wet, dirty, or cold surface is another cause of early failure. Take the time to clean and dry the joint, and wait for a dry day with a suitable temperature. Finally, do not seal a window shut by accident. Keep caulk away from the moving parts of the window, and check that the window still opens and closes freely once the caulk has cured.
Call a professional if the frame is rotten or badly damaged, or if the glass unit itself has failed and you have condensation between the panes. A failed sealed glass unit usually needs replacing by a glazing specialist.
Conclusion
Learning how to reseal windows is a small job that can make a noticeable difference to comfort and energy use. Find the draught, remove the old caulk, clean and dry the joint, and apply a steady bead of the right caulk for the location. With good preparation and a little patience, the new seal should last for years. If you find rot, a failed glass unit, or a window you cannot reach safely, leave that one to a professional. Family Handyman also shows the caulking technique in its guide to caulking windows. Another straightforward exterior job is trimming bushes around your home.
Frequently Asked Questions
How often should I reseal my windows?
It depends on the product and exposure, but exterior caulk often lasts several years. Once you know how to reseal windows, check them once a year, ideally before winter, and reseal any joints that show gaps or peeling.
Can I reseal windows in winter?
You can, but only if the temperature is within the range on the caulk tube and the surface is dry. Cold, damp conditions can stop caulk from curing properly, so wait for a dry, mild day.
What is the difference between caulk and weatherstripping?
Caulk seals the fixed joint between the window frame and the wall. Weatherstripping seals the moving parts where the window opens and closes. If the draught comes from the opening sash, the weatherstripping may need replacing instead.
Why does my new caulk keep cracking?
Caulk can crack if it was applied over old caulk, onto a wet or dirty surface, or in unsuitable weather. It can also fail if the gap is too wide for caulk alone. Remove the old material, prepare the joint properly, and use a foam backer rod for deep gaps.